In this article, we will discuss in detail the best way of filming a self-test and the right equipment you need to use to pull it off. We will also discuss the importance of a self-test and how it can help you get a more accurate reading on your current fitness level.
Filming a self-test is quickly becoming the industry norm for auditioning and is likely to stay that way in the wake of the corona pandemic.
Even if you’re good at acting, it can be tough to film a self-tape. That’s why many actors will use their own camera, which is not as simple as it sounds.
This may end up hurting your chances of getting auditions and getting roles because sometimes the video quality isn’t good enough without professional help.
What Is A Self-Test?
A self-test is an audition that actors turn in on their own. They often film and edit it themselves, too.
Self-tapes are the same whether you are auditioning for theatre, film, or tv.
The focus of the audition may be different though.A casting director might look at your vocal strength and on-stage presence at an audition.
After filming a self-test, actors will send it to their agent or casting director to get their opinion. Most actors film their self-tapes at home but you can also do it at a self-test studio.
What Are The Benefits Of Filming A Self-Test?
Self-tapes are beneficial to both actors and casting directors.
- Casting directors(CDs) can see a lot of self-test auditions in a short amount of time compared to in-person auditions. They are able to save time and money.
- For actors, self-tapes allow them to audition from any location in the world. You are no longer constrained geographically and it eliminates the cost of transportation.
- Actors can film their tapes with self-tests, meaning they don’t have to worry about conflicting schedules. Whether you are at work or school you can do it in your free time.
- Actors film in the comfort of their homes and avoid the stress of stage fright.
- If they make a mistake they can easily correct it by doing a second take.
How Do I Know If A Self-Tape Is Required For An Audition?
After assessing your demo reel, headshot, and resume the CD will explicitly request that you submit a self-tape.
The casting director will give you the sides, a deadline, and instructions for filming along with the self-tape request.
Other times there will be open calls where anyone can send a self-test without being requested.
What is the most important part of a self-tape?

The most important aspect regarding your audition is to provide truthful, engaging acting – this is especially true for self-tapes. You should use every technical advantage available to you when filming your self-tape.
This means the work you do before filming your self-test is very significant.
Here’s what you need to do before you start:
Preparation
Memorize your lines thoroughly so you can focus on your performance.
Do your best to understand the story and connect to it. Treat your preparation as if you are performing on set.
Connected movement
Perform a very light activity like yoga or tai chi to connect with your body. This will make tuning into your emotions easier.
Be present
The best acting happens when you are fully present. Take a few minutes to assess how you feel in the moment right now. Pay attention to your emotions and feelings to guide you to the now.
Breathe
Do a short meditation or breathing exercise to further solidify your focus in the present moment.
Direct your attention to noticing and following your breathing. Let go of expectations and anxieties before you start taping your audition.
What equipment do you need when filming a self–test?
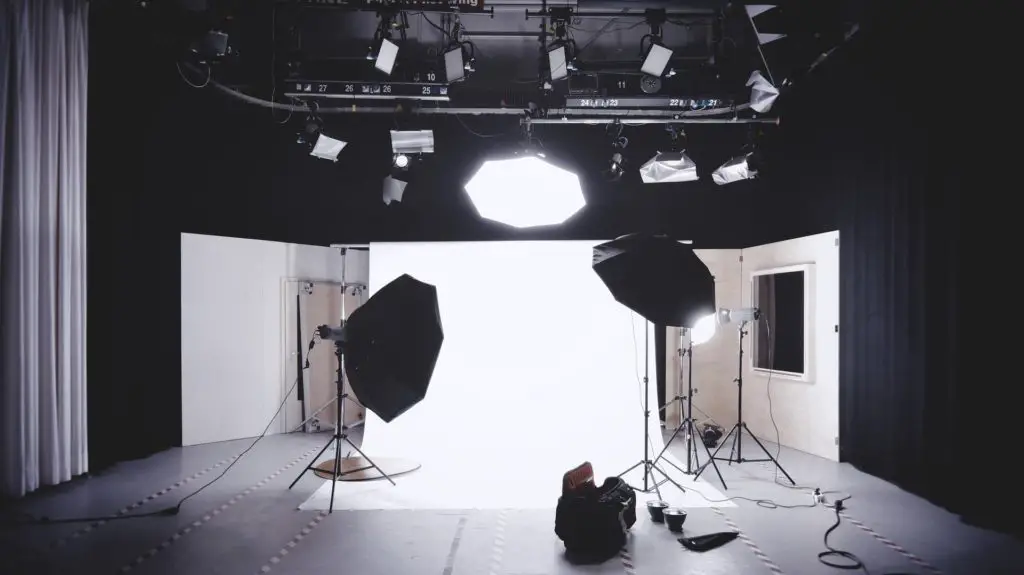
Typically, self-tests are filmed at someone’s home or a small studio set up specifically for the purpose.
The basic equipment you need for filming your self-test is a camera, microphone, lights, and a tripod.
Lights
It’s important to make sure you look great on camera and always work with quality lighting.
Always keep in mind that directors and producers are used to working with quality lighting and sound and they will expect the same from you.
Natural light is the best but make sure that the light source is coming from behind the camera so that your face is seen clearly.
Avoid filming your self tape in front of a window. Since the light is in front of you this will make you a silhouette and hard to see.
If you are using artificial lights put them about 2 meters away from you.
If you want your skin tones to be bright but not too dark, make sure to adjust the exposure of the camera.
White balance can be a problem when you use your cameras. If your skin tone has a weird tint to it and doesn’t look right, refer to your camera’s instructions.
It’s best practice to use two light sources because natural light is not sufficient by itself. Use a key light from the front and fill light from the side.
When shooting your self-tape soft lighting is the best choice. Make sure you have a big light source that casts soft shadows.
Try to avoid distracting shadows in the back and be sure that your face is equally illuminated when setting up your lights.
Investing in lights is a good idea if you intend to self-tape a lot. You can go for ring lights, affordable LED video lights(20$), softbox lights(50-60$), or expensive LED panel lights(180-200$).
Always record a test clip before shooting your scene and pay attention to the lighting and sound.
Camera
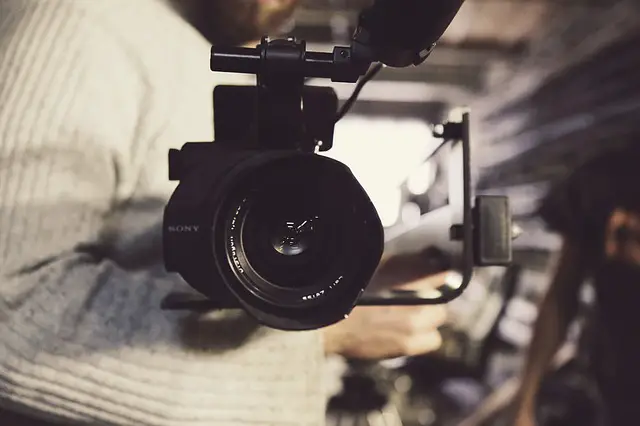
If you are planning on buying a camera or self-taping a lot investing in a DSLR camera is well worth it.
The Canon Rebel is a great camera to start with.
You can also use your smartphone camera to film your audition. Boost the video quality by using external lenses like the Olloclip, Apexel, and Moment lens.
How to film with a camera
Your camera should always be in landscape position unless you have been asked to do it vertically.
Make sure you are the only one on camera. The reader should be off-screen.
Follow framing instructions. If the CD hasn’t specified anything, shooting from the chest up is best practice and you should be in the middle of the frame.
Note: For the best results ensure that there is a small gap between the top of the frame and your head. The frame should end just below your shoulders around the mid-bicep level. This is called a medium closeup.
Use tape to put a mark on the floor to make sure that you are centered and in focus throughout your shoot.
Position your camera around eye level or just above it.
Keep your camera focused on your face and don’t let it zoom in and out.
Know your limits within the frame so that you can use movement moderately to make your acting more natural.
Tripod
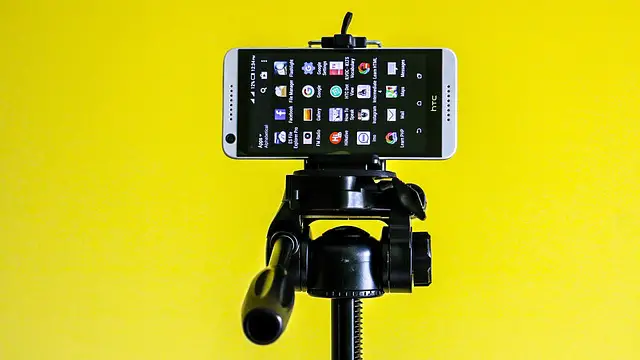
Investing in a tripod will help you avoid the hassle of making your own contraptions or stacking books on a chair to place your camera on.
It will also make framing your shot very easy and quick.
You can get tripods for under 20$ and by attaching your phone or camera to the tripod you get professional quality and stable shots for your self-test.
Some tripods will include mounting rigs but sometimes you will have to buy them separately.
Sound
The quality of your self-test is another fundamental element that can make or break your audition.
Don’t use your phone’s microphone as it will pick up background noises that are distracting.
Make sure you buy a good microphone which you can get for less than 100$.
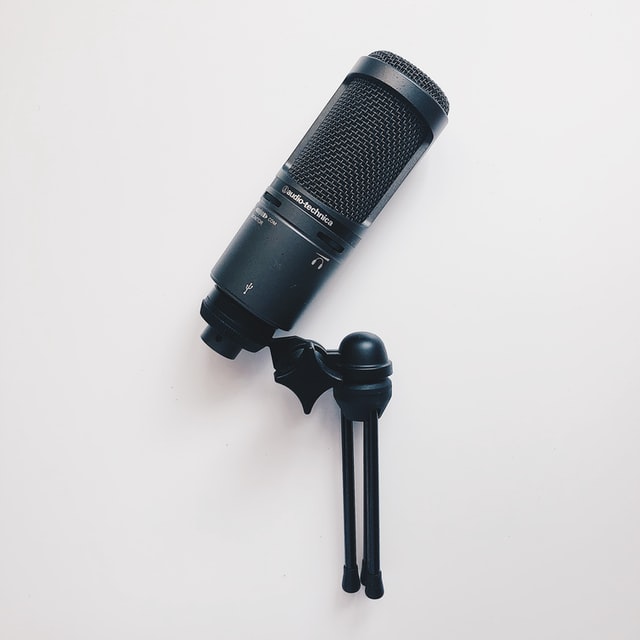
There are two types of mics that are excellent for self-tapes:
- Shotgun microphone – put it on top of your camera
- Lavalier microphone – attach the mic to your shirt or sweater close to your mouth.
Rode mics are by far the best if you are looking for quality sound.
Holding onto your headset or handheld mic will distract your viewers. Your only focus should be on the performance.
Your microphone should be facing you and not pointed towards your reader.
Test your sound quality before shooting your audition.
Checklist for sound quality:
Choose a quiet room with minimal or no background noise
If it’s loud outside try closing the window.
Make sure there’s no loud machinery or power tools in the area.
The volume on your tape should be loud enough so that it can be heard when played back on laptop speakers.
Backdrop
The backdrop is important because it can either distract your guest’s attention or focus it on you!
Don’t use flashy backgrounds in your slides.
Neutral colors like gray and white are a good choice for your background. Blue is also a great color that can be used in either professional or casual settings.
You can use blank walls, bedsheets, or purchase a professional screen.
What do you wear when filming a self-test?

When choosing your self-tape wardrobe pick clothes that match your features as well as the scene you are performing.
Picking clothes that portray your character shows that you understand your role and make your performance more believable.
Wear tops that fit your form, and choose solid colors that are different from your background. Moreover, the color of your clothes should not match your skin tone closely.
It’s also better to avoid clothes with stripes or excessive patterns as they tend to distort on camera.
Keep jewelry and accessories to a minimum. Most importantly don’t wear clothes that will pull the casting director’s attention away from your performance.
Keep your favorite X-Men shirt where it belongs, in the closet!
How to deliver your lines for a self-tape
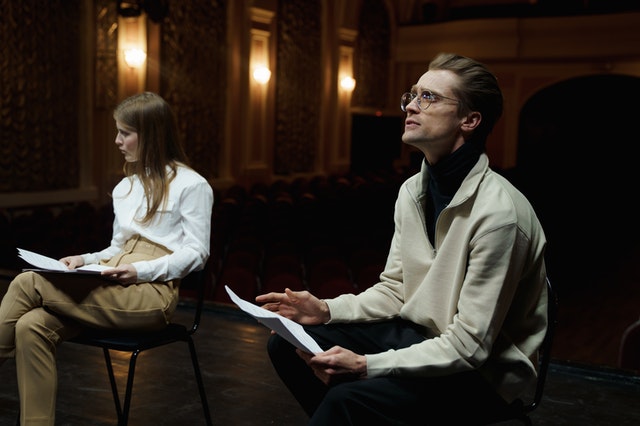
You only have one attempt at putting on a good performance and making a good impression for the CD or anyone looking at your self-tape.
You need to know & prepare your lines perfectly so you have a great performance.
Memorize and learn your lines before you even think about filming your audition. When acting out your lines focus on being natural.
A good way to do this is pretending like the camera is not there.
Your acting should come off as natural and conversational.
Don’t exaggerate your lines or actions. Doing so will make your portrayal seem fake or unnatural.
Concentrate on expressing your character’s emotions and feelings and not on reading your lines.
Is a reader necessary when filming a self-test?
Yes
It is important to have someone read your lines for you when filming a self-test. You need readers for your taped audition just like you would in a live audition. The best part is that you can choose your readers!
When choosing a reading partner try to find someone who complements your style and is good at responding. It’s important to identify somebody who can also deliver their lines convincingly.
When you read a script, make sure that the reader is close to the camera.
Even though the viewer won’t be on tape, keep your eyes on them and look at the camera the whole time when performing.
It’s important to pay attention to the reader’s tone and make sure that their voice doesn’t overwhelm your own.
Also, I don’t think it matters if the reader doesn’t match the gender of the character they’re reading for. However, if you are shooting a love scene, reading with the opposite sex is a smart choice.
Guidelines for reading:
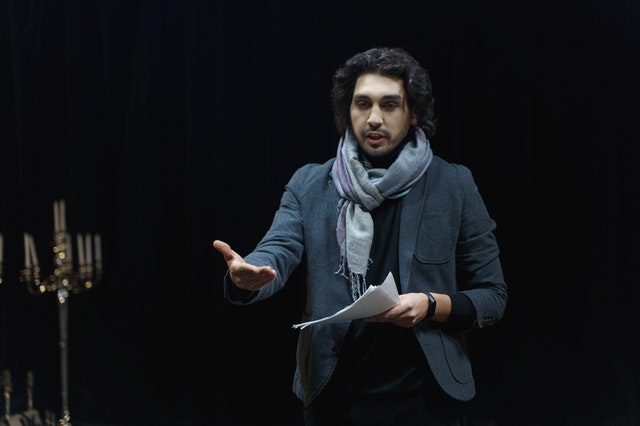
- Speak in an animated tone and avoid monotone.
- The reader’s line should be clearly heard.
- Use the same voice throughout the scene even if there are different characters.
- Avoid using accents or talking in a way that would distract from the actor’s performance.
If you can’t find a reader for your self-tape use a service like WeAudition.
If you still can’t find a reader, record the lines that a reader would read yourself on your iPhone or recording device and play them back as you are doing your own lines.
Do you need to be off-book for a self-tape?
In a lot of cases when you get a request to submit a taped audition it’s very close to the deadline and at most you only get a day or two.
Hence, it is not always feasible to memorize all your lines and be a hundred percent off book.
In scenarios where you have little time to prepare do your best to memorize as much of the lines as possible before shooting your scene.
Try to creatively integrate your sides into your scene if possible which will make occasionally looking at your sides natural.
For example, if your character is a doctor you can put your sides on a clipboard.
Never hold the script in your hands and read from it. When your eyes look down at a page it breaks the connection you have with your viewer.
If you make a mistake in your lines don’t break character as this can show a CD that you can manage last-minute line changes.
Being off-book is the most effective way to be natural on screen.
How many takes should you record when filming a self-test?
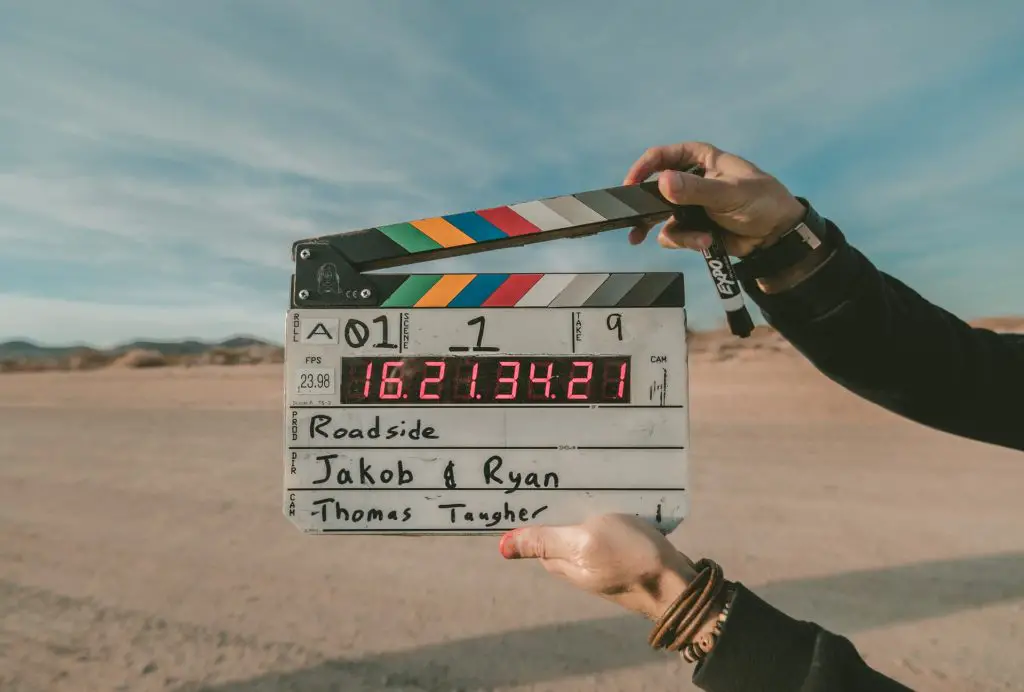
It is important to keep your takes to a minimum when self-taping. 2-3 takes of one scene is plenty.
This way you don’t get obsessed with perfecting every little detail and film too many takes, which will save you valuable time.
Approach your self-test as you would an in-person audition and give your best performance in the first take.
Do your first take and then revise correct and redo a second and third take to produce a superb audition.
If you have been given instructions regarding takes make sure to follow them thoroughly.
Should you include a slate (ident) for your self-tape?
Unlike in-person auditions, slating is not mandatory for taped auditions. You should only slate for your self-test if you are asked to do so.
Slating tips:
- Shoot your slate in a wide shot unless specified otherwise.
- Film your slate vertically.
- Record your slate separately from your self-tape and merge it with your self-test when editing.
- Include your name, age, and role in your ident.
What editing software do you need for a self-test?
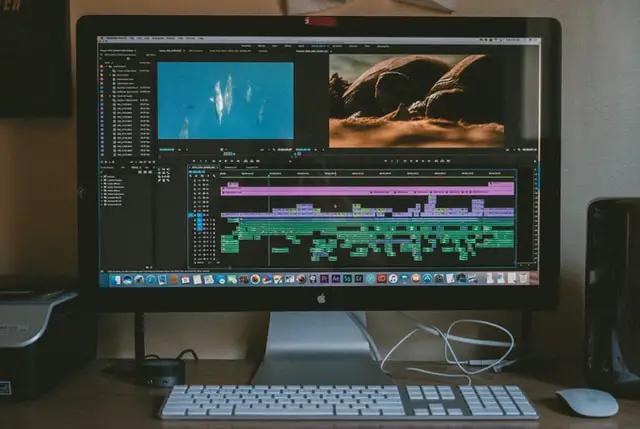
When it comes to editing all you need is a basic editing program like iMovie or wondershare. Slatable is also a great app made specifically for self-tapes. Use Quicktime to reduce the size of your files for quick uploading and downloading.
With iMovie, you can cut scenes, add text, transitions, and more all from your phone.
Similarly, you can edit your scenes in one file, add title cards, submit your tape, and more from your phone using Slatable.
How to edit your self-tape
Always follow the instructions you were given before you start editing.
Select the best takes of your scenes and cut out any excess footage. Edit your scenes into one file.
Add your slate then add a fade into the first scene, in between all scenes, and in the end, add a fade to black.
Use simple transition effects like a dissolve or a hardcut.
Label your clips first with your name followed by project title, role, and scene.
Save your tape according to the format and size prescribed by the CD. If a format is not specified use a universal format like MP4.
How to submit your self-tape
There are several ways to send in your self-test in a downloadable format:
If you have been instructed to send your self-test via email wetransfer is your best choice. You should always submit early when you can and get the advantage of receiving feedback from casting directors.
Conclusion
Filming a self-test is quickly becoming the industry norm for auditioning and is likely to stay that way in the wake of the corona pandemic.
Approach your self-test as you would an in-person audition and give your best performance in the first take.
Leave a comment with your opinion or any questions you may have below…

